Dynamic Range Demystified: Punch, Body and Control - a Practical Guide

Dynamic Range Demystified: Punch, Body and Control - a Practical Guide
If Part 1 of this series answered the question of what dynamic range is and why compression exists, Part 2 answers the question that matters more in practice: how do you actually use it? Knowing that a compressor reduces gain above a threshold is one thing. Knowing when to reach for it, how much to apply, and when to leave well alone is what separates a mix that breathes from one that sounds squeezed to death.
This guide covers compression for control, body, cohesion, and creativity; gain reduction targets by signal type; insert order; parallel compression; multiband; and the most common pitfalls to avoid. If you have not read Part 1, it covers the fundamentals - what dynamic range is, how compressors work, and the history behind the tools. You do not need it to follow this guide, but it helps.
Not sure how your mix is sitting right now? Upload it to Mix Check Studio for a free analysis - no account needed. It analyses your mix and tells you exactly where to focus.
Part two: Punch, body, and control - a guide
In part one we looked at the problems compressors were designed to fix and their basic operation. Now it's time to see what that means for our tracks. Mix Check Studio offers genre-tailored feedback about your track's dynamic range, and this article will teach you how to implement that advice.
Most of the problems encountered by newcomers are less to do with not knowing the right settings for a picked Rickenbacker bass, and more to do with having the wrong general approach.
You can spend a lifetime mastering dynamics (producer pun, sorry), so we're not going to give specific presets for every signal type or genre. Instead, let's stick to practical, easy-to-grasp fundamentals, useful techniques, and the best way to avoid common problems.
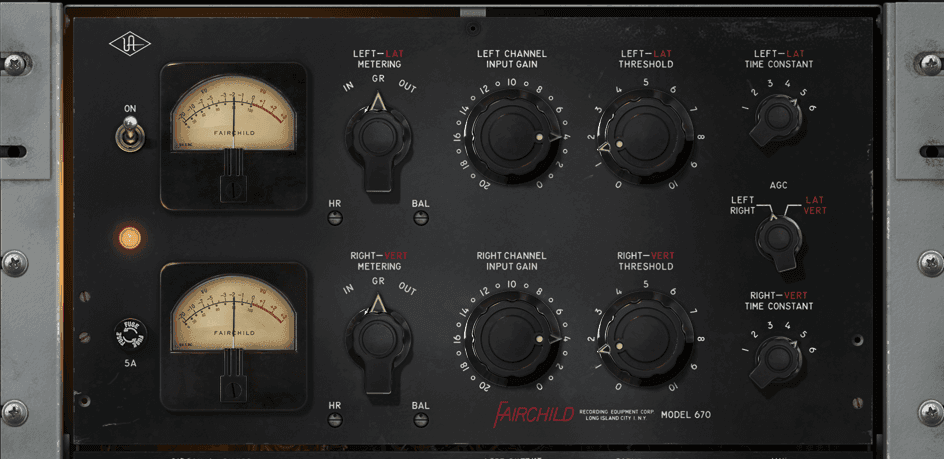
A Fairchild valve compressor - one of the most revered hardware compressors ever made, and a reference point for understanding how compressor design shapes sound. |
Compress with purpose
The key to dynamic processing is understanding what you're trying to achieve. It's tempting to reflexively throw a compressor on every channel, because default compressor presets are generally designed to sound fuller and louder. It's to encourage you to use them.
Over use of compression, though, can quickly damage natural dynamics, often in ways you might not notice until it's too late.
Compressing with purpose then, means identifying a specific goal before adding a compressor.
Note: Last time we covered the different kinds of compressor and why they're associated with different roles. We won't dwell on that here, though, as it's good to avoid the gear acquisition syndrome (GAS) trap. Your DAW almost certainly has a very versatile built-in compressor, so before rushing off to buy your way out of trouble in a plugin sale, concentrate on learning to make the most of what you have.
Compression for control
Compression was developed as a levelling tool and it's still a valuable one. For example, whether due to intonation or a singer moving around in front of a microphone, the level of a vocal can fluctuate quite considerably.
Without some compression, a vocal over music will oscillate between bursts of level that pop out and sections that get lost underneath the music.
Whatever the mix element, if the dynamic range is too wide to be usable, compression is the answer.
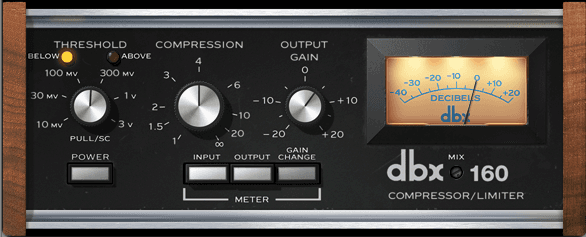
A dbx compressor - a classic VCA design widely used for its fast, accurate gain control on bass and drum channels. |
Compression for body
Narrowing the dynamic range of any audio signal can increase perceived loudness for the listener. Applied to a full mix, this makes it feel louder (see A Simple Guide to Loudness and Metering). Applied to individual mix elements this will give them more body.
There are no settings guidelines for adding body as it depends on the kind of signal. A microphone recording of a vocal or instrument will usually have a much wider dynamic range than a synth bass, while a microphone recording of a distorted electric guitar amp will probably have a narrower dynamic range than a virtual piano instrument.
One thing you should be mindful of is that adding body often involves quite significant peak flattening - and the wider the starting dynamic range, the higher the maximum gain reduction value. See our guide to clipping and headroom for more on managing levels before compression.
Compression for cohesion
Bus compression is used to help glue the elements of a mix together. More than any per-channel compression, this will define the whole mix as your listeners hear it, so in general this is probably less extreme than you find on individual channels or groups. Nevertheless, some electronic genres and producers push for very obvious pumping and loudness.
Careful control of transients is important in bus compression, so choose a device with controls for attack and release.
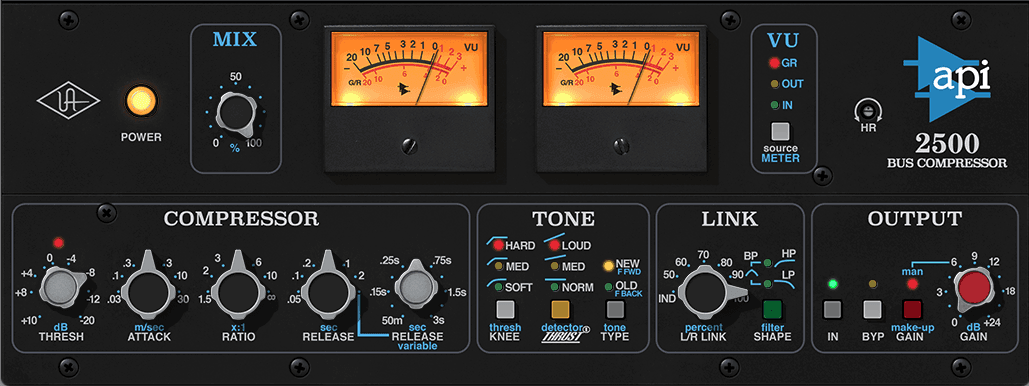
An API compressor - a hardware bus compressor known for its punchy, musical glue on mix buses and drum groups. |
Compression for creativity
In part one we looked at sidechain pumping but there are a number of other creative uses of compression.
For example, if you've ever had somebody speak softly directly into your ear, you'll know how loud it seems. The perceived effect is to overwhelm the dynamic response of your hearing and massively narrow the dynamic range.
In the same way, heavy vocal compression on softly sung vocals makes mouth noises appear much louder, creating a similarly intimate vibe.
Gain reduction
Gain reduction is that rare production term that does what it says on the tin. It refers to how much the compressor is reducing the gain - in other words, how much it's compressing the audio.
The amount of desirable gain reduction - measured in dB - is contextual and often subjective, so it's hard to give precise ranges or targets.
That said, we can predict the effects of different gain reduction amounts on different signal types. Note: these values are based on the consistent level - momentary peaks in the audio might add a few dB.
Vocals: 1-5dB delivers a smooth, natural effect. For heavier vocals, aim for 10-15dB reduction on peaks rather than the consistent level.
Instruments and synths: 2-10dB is common. The more the reduction, the less natural and dynamic the result. Attack and release can have a profoundly audible effect at higher values.
Mix bus compression: 2-4dB helps gel the elements of a mix together. Going much above this should be considered making a statement.

Gain reduction metering on a compressor plugin - the needle shows how much the signal is being pulled down in real time. |
Insert order matters
One of the easiest things to overlook is how much the placement of compression in a signal path matters.
EQ before or after compression?
The most fundamental example is whether or not to place EQ before or after compression. And the answer is: it depends.
Compression is triggered by the signal level, and bass frequencies have a bigger impact on overall signal level. If you cut all the high frequencies from a signal, the signal strength won't change a great deal, but if you roll off bass frequencies the signal level will drop significantly.
As a general rule of thumb, EQ can be used before compression to clean up the sound. For example, if you're mixing a vocal and plan to roll off a lot of bass, it can make sense to do so before the compressor. Otherwise the compressor will be responding to bass energy that won't be part of the finished signal.
Of course, compression itself can alter the frequency balance of a signal, so you might want EQ after compression for tone shaping. Modern mixing often uses both. See our guide to tonal balance for more on the relationship between EQ and compression.
Pre- or post-delay and reverb
Compressors make quieter sounds seem louder, so whether you place a compressor before or after a delay or reverb produces starkly different results. Before the reverb, the compressor will bring up the tail; after it, the reverb sits at a more natural level. Sometimes placing it before can be a bit overwhelming and make things messy - as ever, it depends.
Multiband compression
Multiband compression refers to a compressor that splits the signal into individual frequency ranges and applies compression to each independently. So, for example, you might have one band for the bass, another for the midrange, and a third for the high frequencies.
Commonly used for mastering, a multiband compressor allows you to apply different amounts of compression and different dynamic qualities to the different elements of your track.
A common use is to generate more pumping and sharper attacks on the low end without audible pumping or harshness on the more tonal elements higher up the frequency range.
Other uses include groups - vocals, drums, instruments and so on - allowing you to compress specific tonal elements without the negative side effects of over-compression.
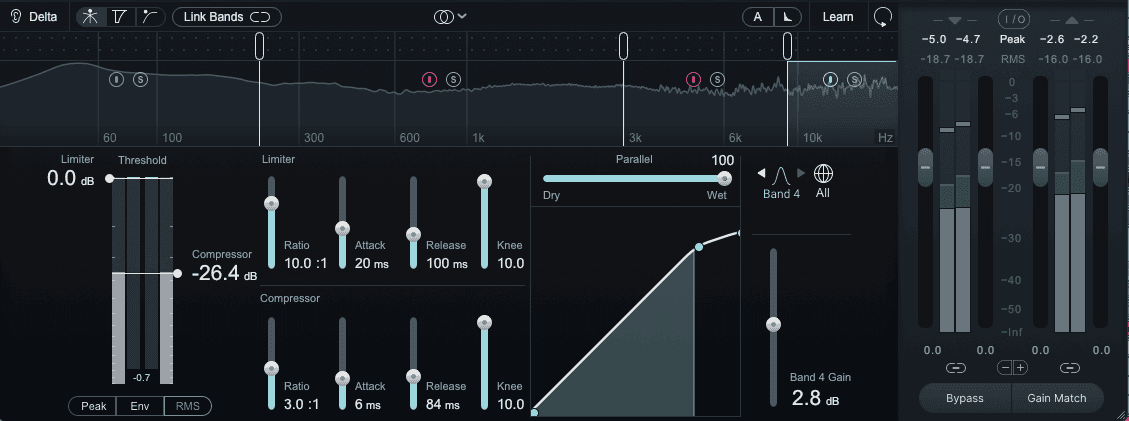
A multiband compressor plugin showing independent frequency bands - each band can have its own threshold, ratio, attack, and release settings. |
Parallel compression
We've looked at numerous approaches for adding body or punch, but careful readers might have noticed that these generally require different settings. What if you want a bit of both? Parallel compression is your friend.
The basic idea is to combine some of the uncompressed signal with the - often heavily compressed - signal. This allows an in-your-face sound that still retains natural dynamic qualities.
Parallel compression is often conflated with 'New York compression' but New York compression is really a specific kind of parallel compression. The original NYC engineers who pioneered the technique actually used two mixer channels, which allowed them to EQ the compressed signal separately for added impact.
Many compressor plugins offer a Dry/Wet dial to approximate parallel compression. It works especially well on live drum buses, sampled loops, and other percussive elements.
Common pitfalls - and how to avoid them
As fantastic as compression is, anybody who claims you can't have too much of a good thing has never listened to a mixdown using the default preset of Waves' CLA-2A on every channel.
Mix Check Studio can warn you about compression problems in your track before they become a problem. Here are the most common ones to watch out for. Upload your mix here to check yours.
Over-compression
Applying too much compression to a signal risks squeezing the life out of it, particularly on anything rhythmic. Basslines, drum loops, synth riffs, full mixes - all of these can be ruined if you over-flatten their natural rhythmic level bounces. This is often more obvious on live-played instruments and MIDI performances than programmed material, as we subconsciously know what the former are supposed to sound like.
Compressing your compressed audio
It's very easy to keep adding additional compression plugins to a channel to make it feel louder, especially as the mix gets busier. But if you need to do that, chances are you should instead consider pulling all your mix faders down and resetting them from the start.
One major danger of chaining compressors is cumulative distortion. Compression plugins often output a signal at or near the maximum signal level, and each one you add risks adding more distortion. On basslines in particular this can erode the bass frequencies - leading you to add another plugin to increase bass level, each time making it louder at the expense of even more bass frequency loss.
Keep in mind that if you're using sampled loops or drum hits, they will most likely already have some compression on them. Compressing a sampled loop means compressing audio that is already compressed.
Audible pumping
Pumping can sound great - we've listed artists who knock it out of the park. But it's a gutsy move and should be done in full knowledge of what you're doing. If you're applying it to a full mix, consider bouncing a version without it too, just in case. Often, though, audible pumping is just a distracting sign you've over-compressed the mix, and it can really throw off the rhythm and dynamics of a track.
Less is more
It's tempting when mixing to reflexively add compression to every channel. Nine times out of ten, adding a compressor plugin to a soloed channel will make it sound better - or more satisfying at least. But you can't have every channel screaming for attention. It's the mixing equivalent of a room full of people all shouting at once.
Before reaching for a compressor, ask yourself:
Will this part actually benefit from compression?
Is compression the only way to achieve this goal?
Is compression the best way to achieve this goal for this mix?
If the answer to all three is yes - does it need this much compression?
Always tweak the preset
Plugins make it incredibly easy to resort to presets. But they are all based on generic use cases. Maybe your kick drum already has a sharp attack and actually needs less crack, not more. At the very least, take time to adjust the input gain, ratio, threshold, attack and release. You might find yourself roughly back where you started, but at least you'll have actively chosen those settings.
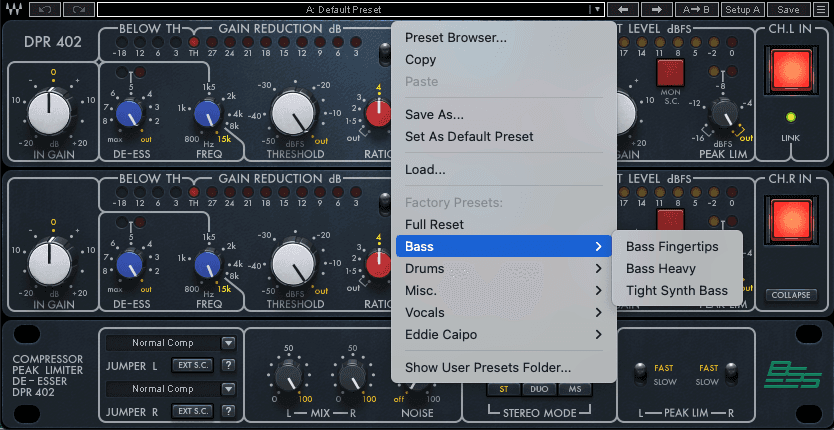
A compressor plugin loaded with a factory preset - always a starting point, never a final answer. |
Take breaks
Revisit with fresh ears. Is that pumping still just as cool after a half-hour ear break? How about a week later? Ask people you trust which version they prefer. If two or three people prefer the less extreme version, maybe you're just used to hearing it squashed. Be prepared - they might be right.
Final thoughts
You now have a full grounding in everything you need to shape and make the most of your track's dynamics. Whether you're new to production or a veteran with hundreds of releases, dynamics are central to great music - and we're all capable of falling into bad habits or reaching for one last compressor when we should step back.
If your mix is not kicking the way you want, never be afraid to remove all the compressors, take what you've learned across Part 1 and Part 2, and start again. And before you do, get an objective second opinion.
Mix Check Studio checks your track's dynamic range against genre references and gives you specific, actionable feedback - free, no account needed. If the analysis flags problems you want fixed without starting over, Automix handles the full mix from your stems, with a free preview before you pay anything.
Frequently asked questions
What does compression do to a mix?
Compression reduces the dynamic range of audio by automatically lowering the volume of signals that exceed a set threshold. Applied to a mix, it makes the overall sound more cohesive, louder, and more consistent. Applied to individual elements, it controls unruly level jumps, adds body, and shapes transients. See Part 1 of this series for a full breakdown of how compressors work.
How much compression is too much?
It depends on the signal and the goal. As a rough guide, 2-4dB of gain reduction on a mix bus is gentle and cohesive; anything above 6dB starts to make a statement. On individual channels, 1-5dB is natural on vocals; up to 10dB is common on instruments. The clearest sign of over-compression is a mix that sounds flat, fatiguing, or lacks rhythmic bounce.
What is parallel compression and when should I use it?
Parallel compression blends a heavily compressed signal with the original uncompressed signal. The result is a mix that has the density and loudness of compression while retaining the natural transients and dynamics of the dry signal. It works particularly well on drum buses, sampled loops, and full mix bus processing where you want impact without losing punch.
Should EQ come before or after compression?
Both, often. EQ before compression lets you clean up the signal before the compressor reacts to it - particularly useful for rolling off bass frequencies that would otherwise trigger unnecessary gain reduction. EQ after compression is useful for tone shaping once the dynamic behaviour is set. Many engineers use both in series on the same channel.
How do I know if my mix needs more or less compression?
Mix Check Studio analyses your track's dynamic range against genre references and gives you specific feedback on whether your mix is over-compressed, under-compressed, or sitting in the right range for your target genre. Upload your mix for a free check - no account needed.
What is the difference between compression and limiting?
Compression uses moderate ratios (typically 2:1 to 10:1) to manage levels and shape transients. Limiting applies very high ratios (20:1 or above) to prevent a signal from exceeding a hard ceiling, and is mainly used for loudness maximisation and peak protection. See our guide to loudness and metering for a full explanation.
Learn