How to Mix Bass Using AI
Most producers spend plenty of time making sure that the low end of their mix sounds right. The problem is that bass is uniquely difficult to hear accurately, uniquely difficult to balance against the kick drum, and uniquely unforgiving when it is off. A mix with a vocal that is slightly too bright is annoying. A mix with a bass that is muddy, inconsistent or fighting the kick can be unlistenable.
AI mixing tools handle bass well when they are given the right information. Here is how to set them up correctly.
Start before you open Automix
The same principles that apply to all stems apply here, but a few matter more for bass than for other instruments.
Automix analyses each stem you upload and makes decisions about its role in the mix based on what it hears. For bass, this means understanding the frequency content, the dynamic range of the performance, and the relationship between the bass and whatever else is happening in the low end - primarily the kick drum.
Before you export:
Keep levels sensible. Bass is one of the most dynamic instruments in a typical production. A performance that peaks at one level on a quiet passage and clips on a chorus gives the AI inconsistent information. Gain staging your bass before export - so the loudest peaks sit comfortably below clipping throughout - means the analysis is working from an accurate picture of the instrument.
Export as WAV, 16-bit. Compressed formats lose information in exactly the frequency range where bass lives. The difference between a WAV and an MP3 at 20-200 Hz is audible and it affects how Automix reads and processes the stem.
Start all stems at 0:00. This applies to every stem in the session but bears repeating - a bass that starts late, even by a fraction of a second, will come back with its timing relationship to the kick and the rest of the mix broken.
Export bass and sub-bass separately if you have them. If your production has a dedicated sub layer alongside a mid-range bass part, export them as individual stems. Automix can address each frequency layer on its own terms rather than treating them as one combined element.
How to categorise your bass stems in Automix
Categorisation matters as much for bass as it does for drums, and the decisions here are more straightforward.
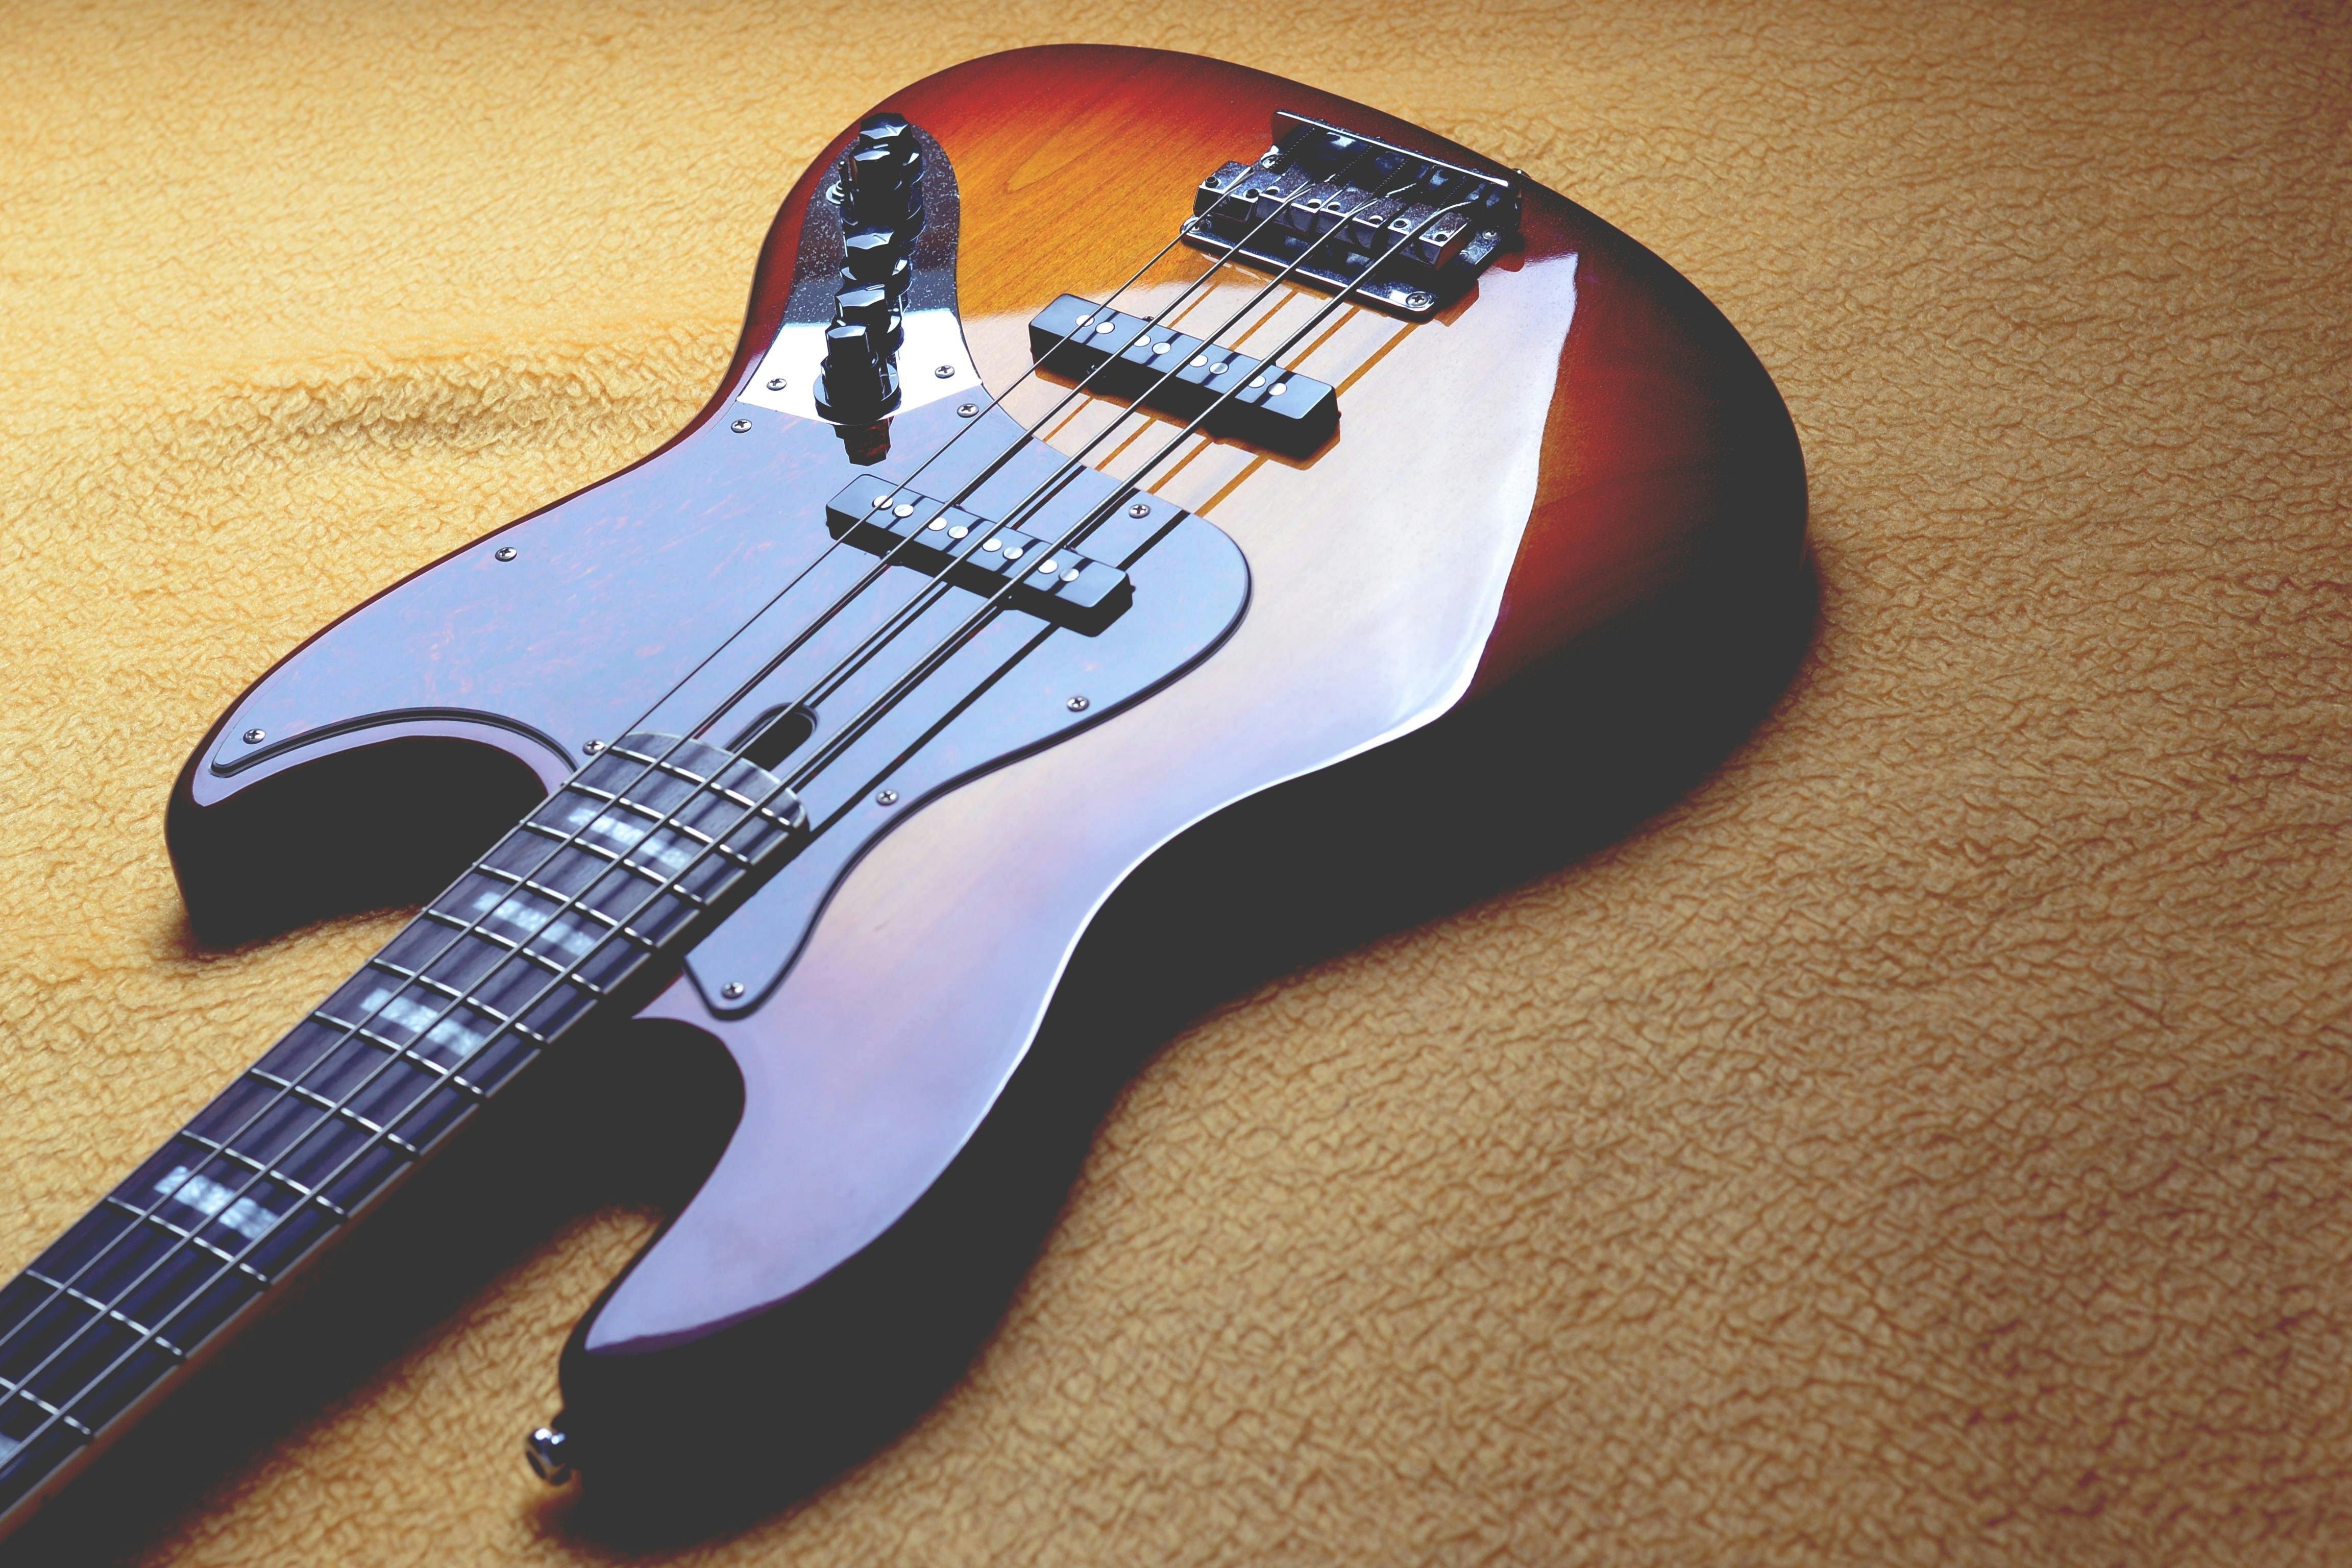
Any bass guitar, DI'd bass, synth bass or sub bass stem goes under the Bass category. This tells Automix to treat it as a low-frequency anchor element and process its relationship with the kick accordingly.
A few specific cases worth knowing:
Synth bass and sub bass both go under Bass regardless of how they were created. The frequency role is the same as a recorded bass guitar, and Automix should treat it the same way.
A bassline playing a melodic or mid-range role - a synth bass part that sits significantly higher in the frequency range, doubling a guitar line for example - may sit better under Keys or Synth Lead depending on the context. If the part is genuinely functioning as a melodic element rather than a low-end foundation, categorise it to reflect that. If it is doing both jobs at once, try Bass first and listen to the result.
808 bass hits go under Bass. They function as the low-end anchor in hip-hop and trap productions in the same way a kick and bass combination would in other genres.
The kick and bass relationship
This is worth understanding before you set your Importance levels, because the decision you make here shapes the entire low end of your mix.
The kick and bass need to occupy the same frequency space without fighting each other. In a well-mixed track, there is a clear relationship - either the kick is dominant and the bass fills around it, or the bass leads and the kick cuts through with punch rather than weight. Which approach suits your track depends on the genre.
In hip-hop and trap, the bass frequently dominates the low end with the kick providing a transient hit on top. In rock and most live music, the kick has more weight and the bass locks in beneath it. In electronic music, both are often engineered to sit very precisely in specific frequency slots.
Automix's genre selection shapes this relationship. Choosing the right genre before you generate your preview is one of the most important things you can do for your low end.
Using the Importance setting for bass
Once your stems are uploaded and categorised, set the Importance level for the bass before you generate a preview.
For a lot of productions, the bass should be set to high importance. It is a primary element for a number of genres, and telling Automix to treat it as such ensures the low end gets the space and presence it needs.
The exception is a production where the bass is deliberately subtle - ambient music, acoustic arrangements, tracks where low end is intentionally restrained. In those cases, medium importance is the right call.
If you are following the subgroup approach from the drums blog - mixing drums separately first and then bringing the processed drum stem back into the full session - set the bass to high importance in the full session mix. The drums will already be in balance as a group, and the bass needs to sit prominently against that foundation.
If your first preview has a muddy low end - bass and kick fighting each other, no clear separation - Importance is not the first thing to look at. That is more likely a genre selection issue, or a stem preparation issue. Check both before adjusting Importance.
Genre matters for bass
The genre you select in Automix shapes how the AI approaches the relationship between bass and kick before it starts processing.
Electronic and dance music typically requires tight, clean low-end separation - kick and bass sitting in distinct frequency bands with minimal overlap. Hip-hop and trap needs weight and sustain in the sub frequencies. Rock wants punch from the kick and a bass that locks in rhythmically rather than harmonically dominating the low end. Jazz and acoustic genres need the bass to breathe and have natural dynamic variation.
If your genre does not match one of the available options exactly, try the closest one and listen. If the low end feels wrong, try the next closest option. The difference between genre selections is most audible in exactly this frequency range.
Taking the result back into your DAW
For Automix Pro subscribers, downloading the project file gives you full visibility into every decision Automix made on your bass stem.
When you open the session in Ableton Live, Bitwig Studio or Fender Studio, you will see the EQ curve applied to the bass, the compression settings and the gain reduction. For bass specifically this is where you can make the refinements that the AI cannot - if the low end feels too loose in a particular section, tighten the compression. If a specific note is sitting heavier than the others, address it with automation rather than a global setting.
You can also download processed stems if you want to bring the bass back into an existing session rather than open a new project file.
Checking your low end before you release
Before you distribute, run your final mix through Mix Check Studio. The tonal balance analysis will flag any low-end buildup - one of the most common problems in independent mixes and one of the easiest to miss on headphones or on speakers that flatter the low end.
Mix Check Studio also checks mono compatibility. Bass below around 200 Hz behaves differently in mono - phase cancellation can make a bass that sounds full in stereo virtually disappear when played back on a phone speaker or a club system in mono. The analysis catches this before a listener does.
The short version
Export clean, well-levelled bass stems. Export sub layers separately if you have them. Categorise everything under Bass - including synth bass, 808s and sub bass. Set genre carefully before you generate - it shapes the kick and bass relationship more than any other setting. Set Importance to high for most productions. Then use the project file download to refine from a strong starting point in your own DAW.
Automix Pro subscribers on Mac can also use Automix Desktop (Beta) to run the full mixing workflow offline - no uploads, 2-5x faster, your audio never leaves your machine.
For more on preparing stems across the full session before you start mixing, How to Prepare Your Stems for AI Mixing covers the full process. If you are working through the instrument series in order, the drums blog covers how to set up the kick side of the kick and bass relationship.
Learn